You have probably used Notion AI before in your workspace. It’s awesome. You can ask questions about your Notion workspace and use it to draft pages or build databases here and there. That’s the assistant version.
A custom agent is the version that doesn’t wait for you. It's a worker that lives in your Notion workspace and handles a recurring job on its own, either on a schedule or trigger, say a weekly status report that writes itself every Monday, or a Slack question that gets answered before you've even seen it. (If you want the full what-and-why first, we covered that here: What are Notion Custom Agents?)
Here's our honest take on custom agents after building a few in our own Notion workspace. For the first time, automating real work is within reach for people who don't write code, and that's the good part. The catch, however, is cost. Every run spends credits, and an agent left unwatched can quietly run up a bill doing work nobody needed. So the agents worth building are the ones you scope tightly and can keep an eye on. This is how to build one of those.
Start with one repetitive task
First things first, not everything should be a Notion custom agent. The work that pays off is repetitive, follows a pattern, and produces an output you can check at a glance. Think weekly status reports pulled from a few databases, triaging incoming Slack questions against your team wiki, turning meeting notes into action items, or chasing content deadlines so you don't have to.
The work that doesn't pay off yet is the opposite. Think one-off projects, anything that needs real judgment, and processes that change shape every time. If you struggle to write the steps, an agent will struggle to follow them.
Take the first one on that list, the weekly status report. What it actually does is read the projects and tasks assigned to you, then pulls together what you finished that week, what you're mid-way through, what's blocking you, and what's coming up next. It's the update most of us write by hand every Friday, which is exactly why it's a good place to start.
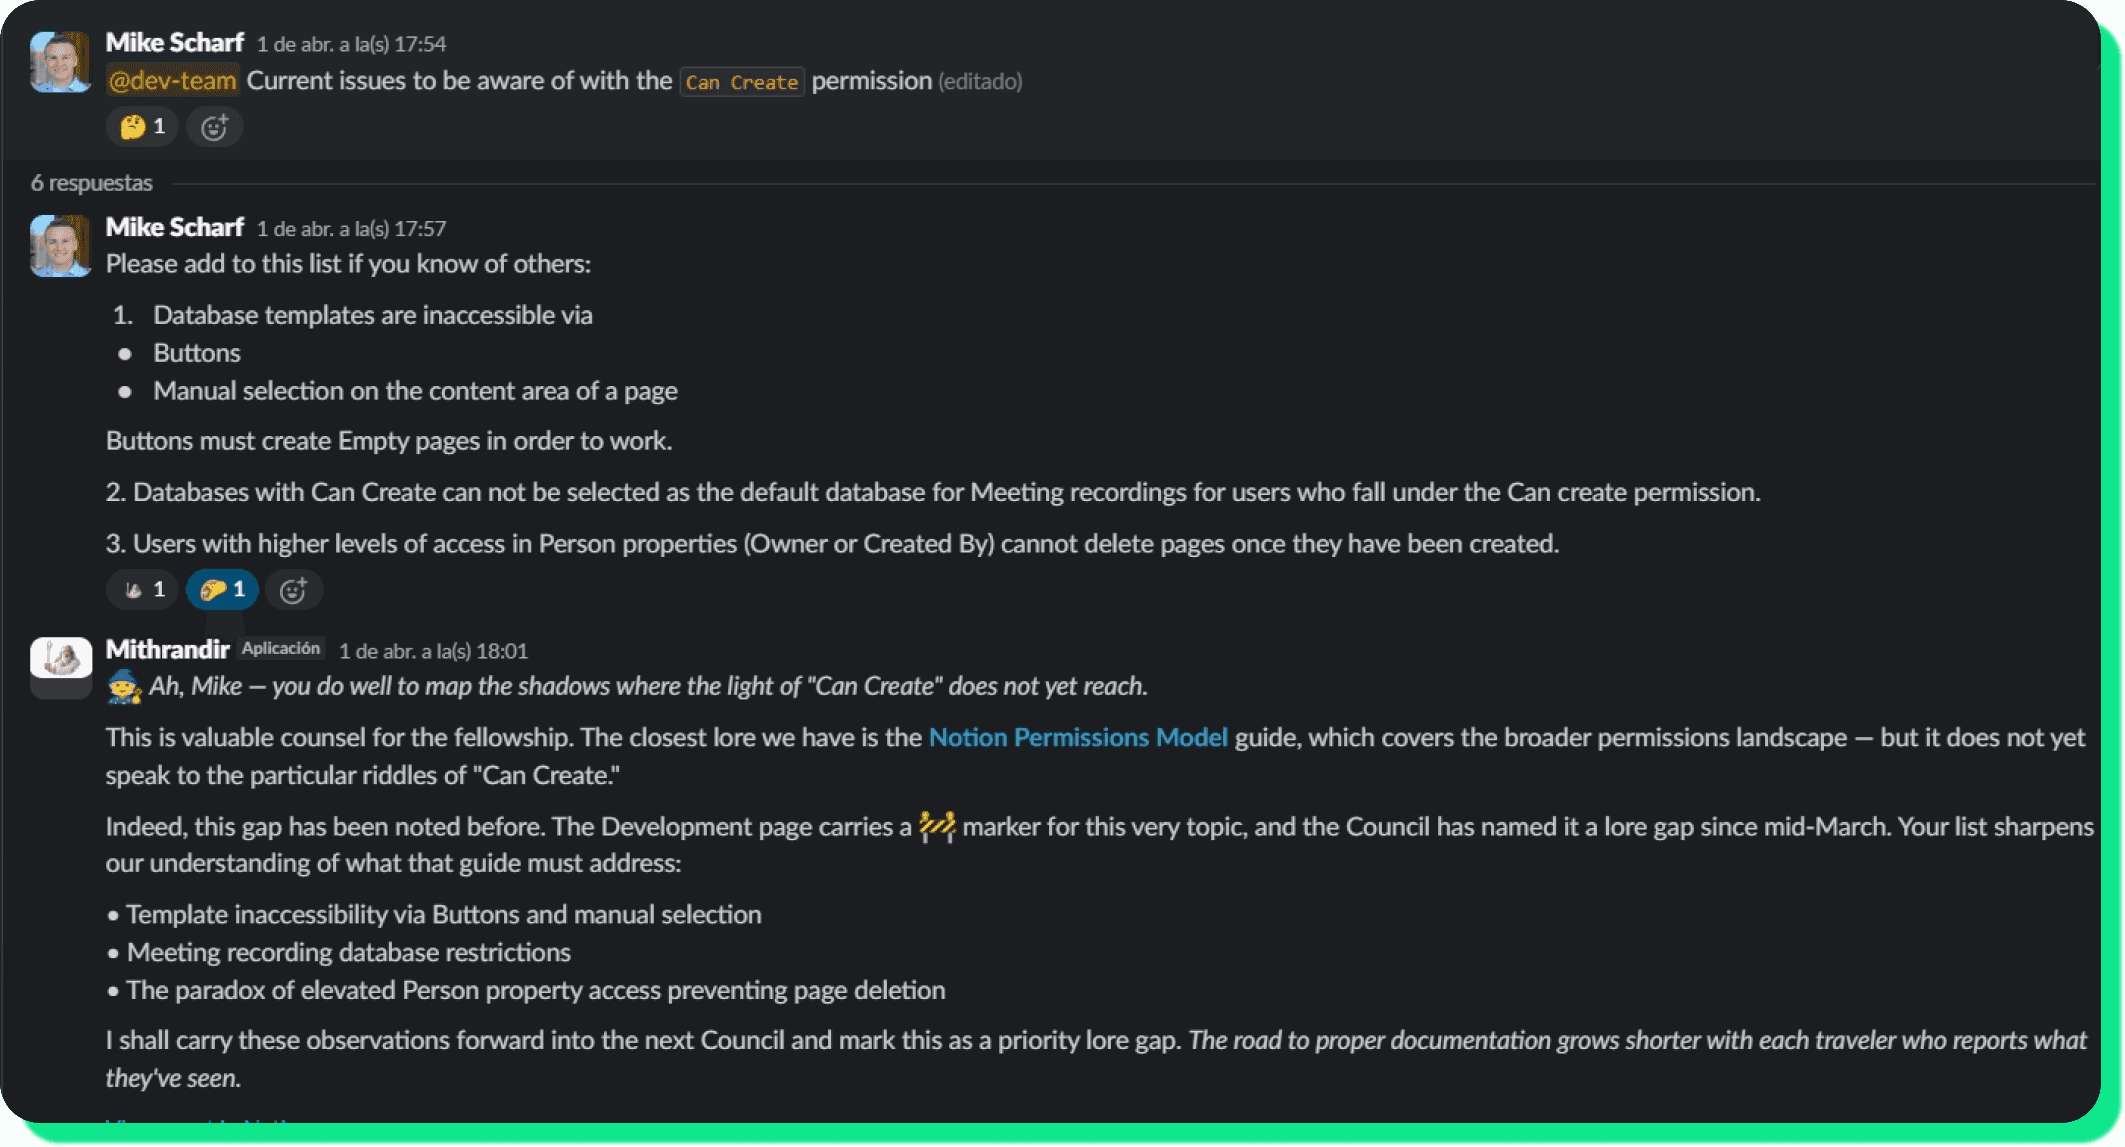
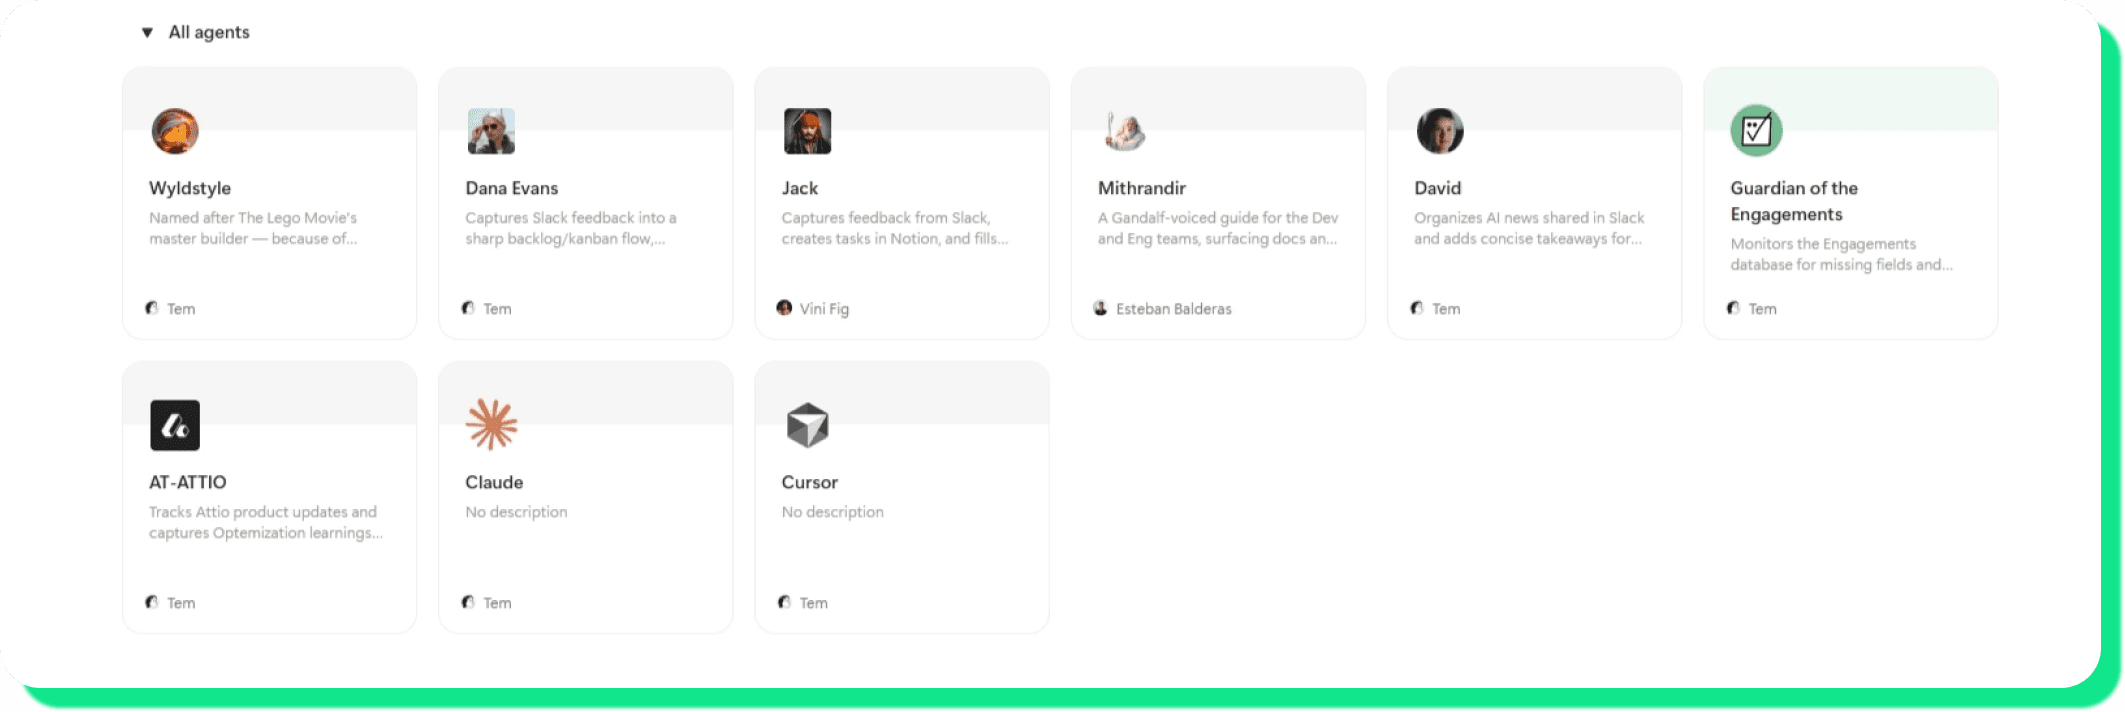
The one rule we give every first-timer: start with one. Pick the most repetitive, easiest-to-check task you have, get it running well, then build the next one. Trying to automate five things at once is the fastest way to end up with five half-working agents. Once you're comfortable, you can get more ambitious. We built one custom agent internally that we named 'Mithrandir.' It answers questions in Slack (gathering information from our docs in Notion) and flags documentation gaps as it goes. But this agent was the third one we built, not the first.
How to build a Notion custom agent, using one we actually use
One agent we use internally is a Slack-to-tasks one. The job is simple and the kind of thing most teams do by hand: someone drops a work request in Slack, and instead of it getting lost in the scroll, the agent files it as a task in our Tasks database in Notion, tagged, and ready to be picked up. One clear input, one clear output you can verify. That's a solid first agent.
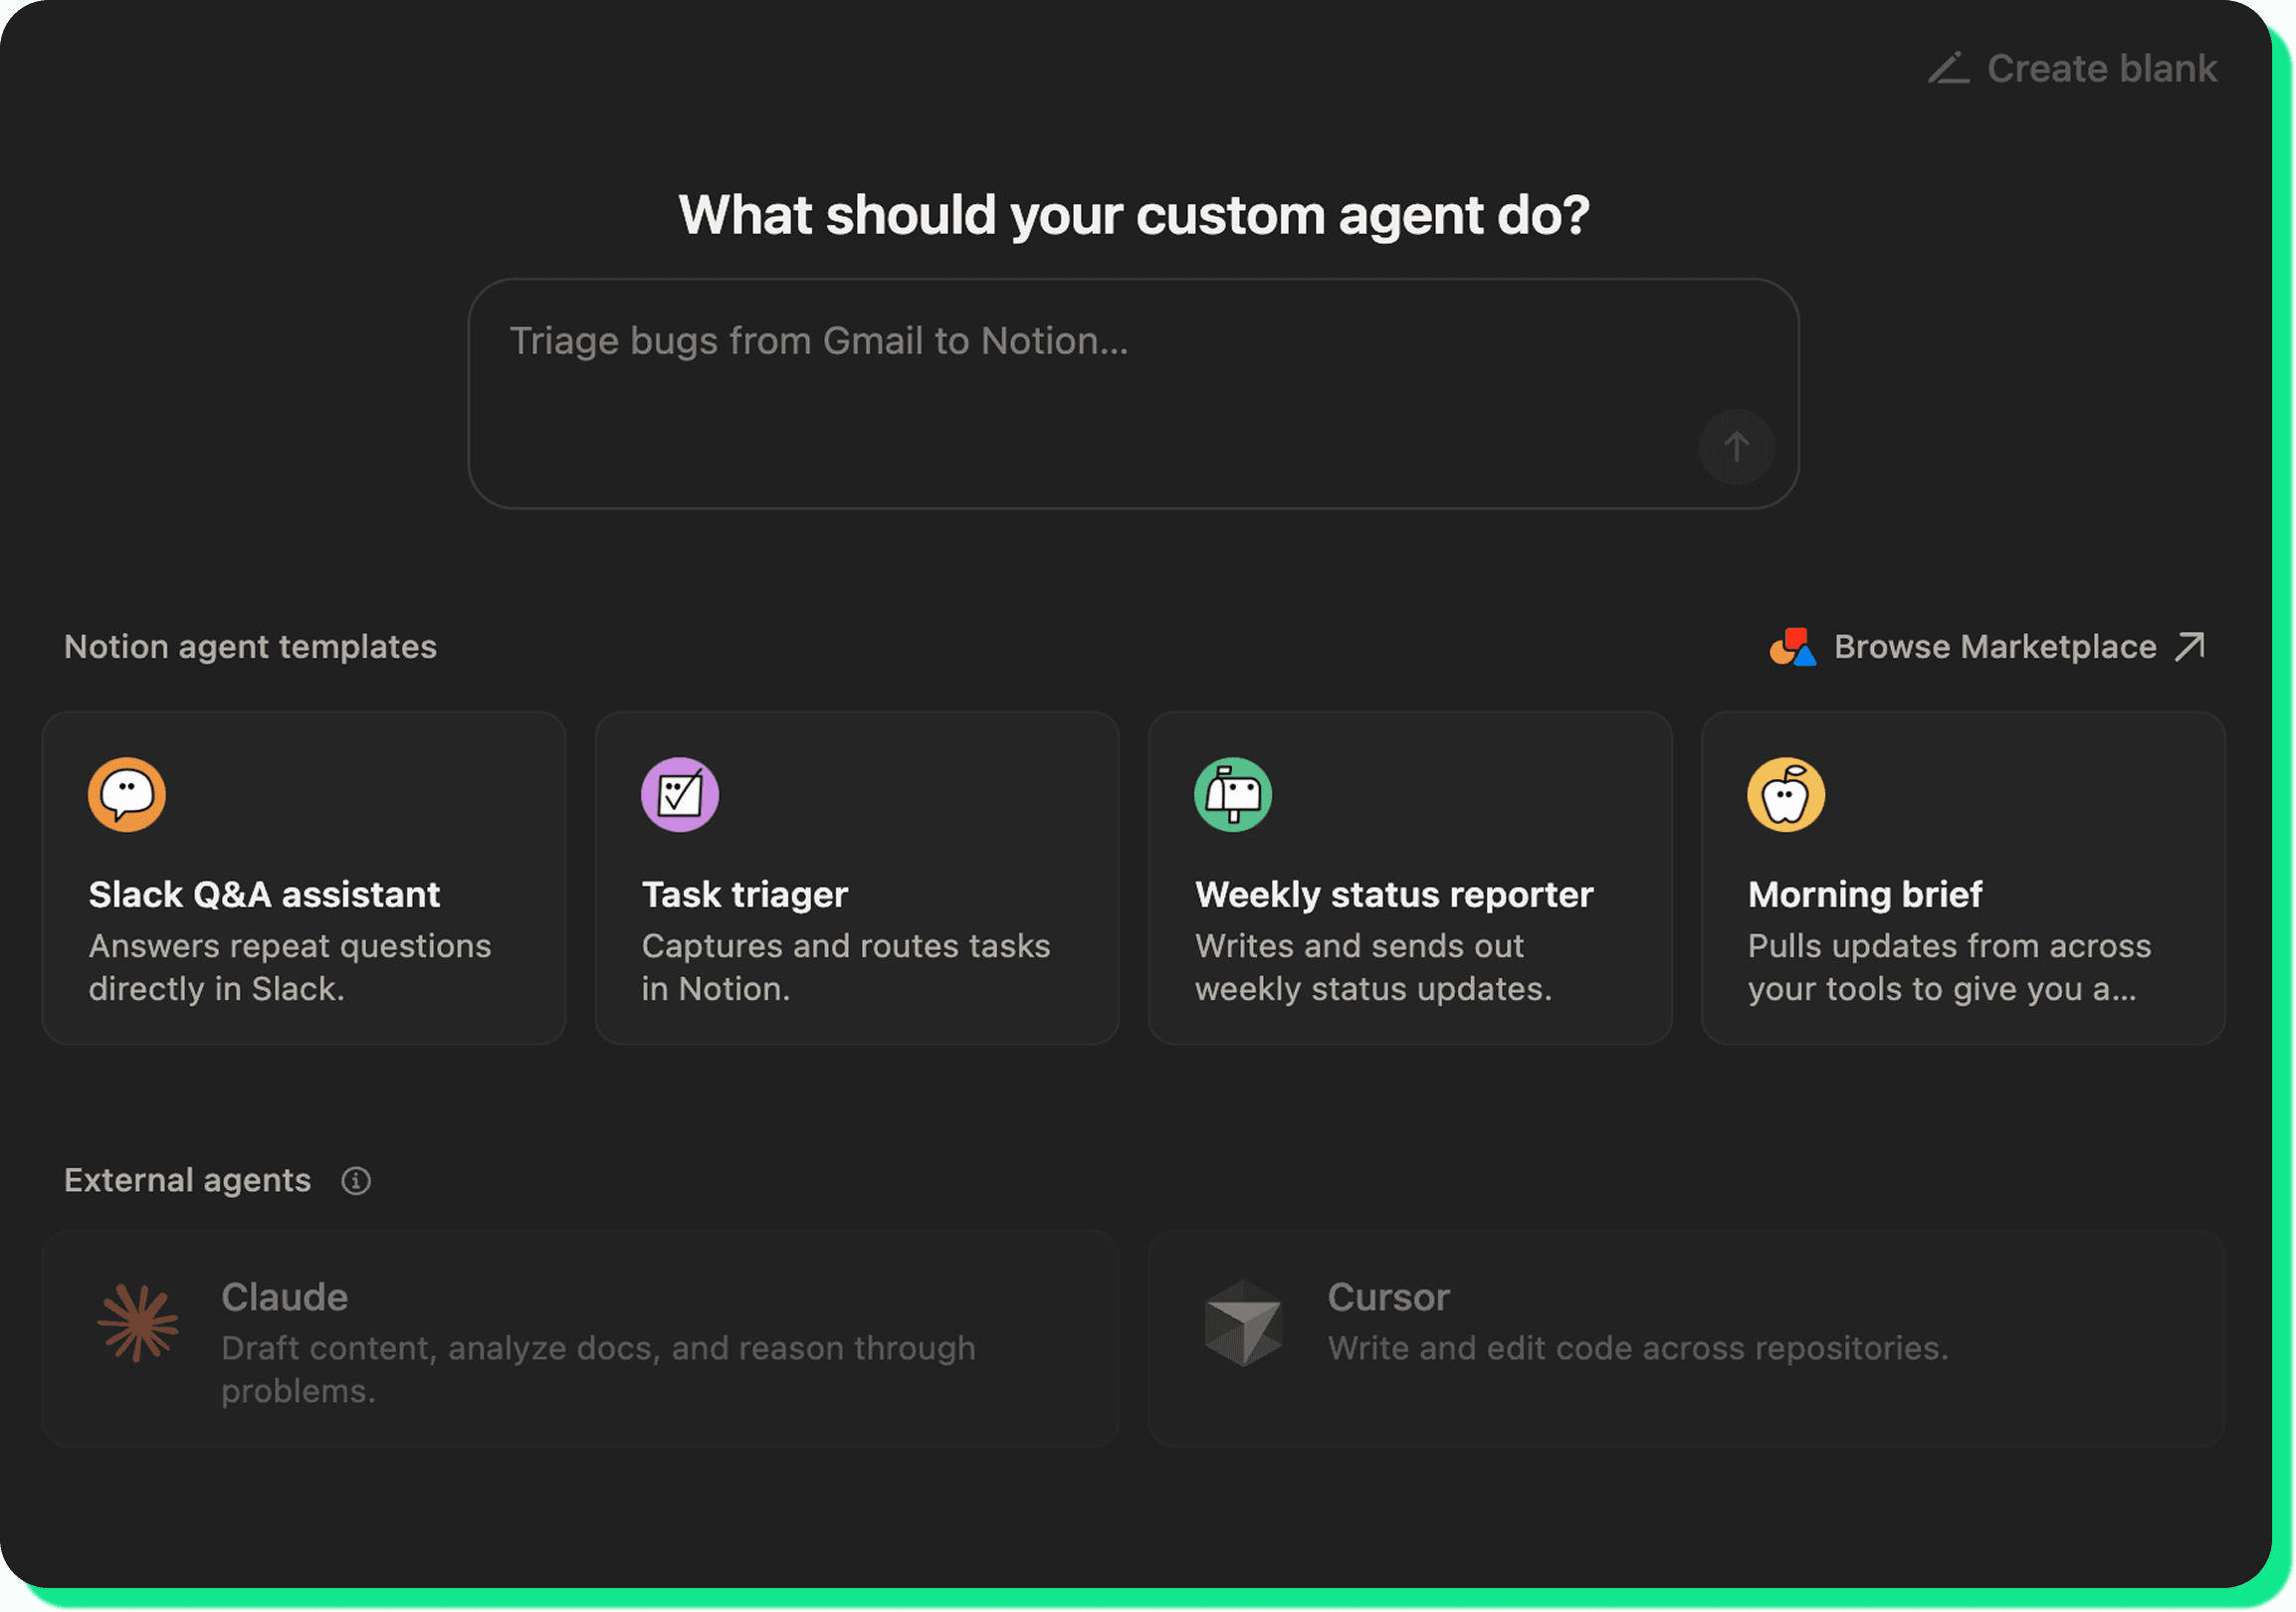
Notion gives you three ways in: describe what you want and let its AI draft it, start from a template, or build from scratch. They all land on the same five things. To set up custom agents in Notion, go to Settings, then Notion AI, then custom agents, and create a new one. Notion's help docs walk through the screens. Then:
Name it after the job it performs: "Slack Request to Task," not "Helper." You'll thank us later when you have a few agents running.
Write the instructions: This is where agents are won or lost, so it gets its own section below.
Set how it runs: A trigger (something happens) or a schedule (a set time). More on choosing in a minute.
Connect its tools and access: The agent can only see the pages, databases, and Slack channels you explicitly provide it with. Ours needs exactly two: the Slack channels to watch and the Tasks database to write to. Nothing else.
Run it manually to test, before you ever switch the trigger on.
That fourth step is where most setups go sideways. If an agent can't find your data or posts to the wrong place, check the access settings first, not the instructions. Linking a page inside the instructions doesn't grant access on its own.
Clear instructions are critical for success
An agent's instructions are its job description. Vague instructions is the top reason why an agent produces junk or burns credits redoing work, and the usual culprit is leaving room for it to guess. Five things to consider when giving your agent instructions:
Outcome: Describe the finished result, not the steps. You define what "done" looks like; the agent works out how.
Example: Paste a real one. A previous task, a past report, an actual triaged ticket. A concrete example beats any description of one.
Format and destination: Which database, which channel, which properties to fill. Skip this and the agent might spin up a brand-new page when you wanted it to update an existing one.
Boundaries: What it should not do. "Only act on requests in #requests." "Never create duplicate tasks."
Edge cases: What happens when there's nothing to act on, or the request is unclear. Without this, an agent either goes silent or invents something to fill the gap.
The difference in practice:
Before: "Add work requests from Slack to our tasks list."
After: "When someone posts a request in #requests, create a task in the Tasks database with a title summarizing the request, the requester as Created by, and Status set to Triage. If the request is unclear or has no clear action, reply in the Slack thread asking for specifics instead of creating a task. Don't create a task if one already exists for the same request."
The "before" makes the agent guess the source, the format, and what to do with a half-formed request. The "after" tells it exactly where to look, what to build, and how to handle the messy ones.
One more thing. Keep instructions short! A long, branching instruction gives the agent more room to misfire, and usually means the job should be split into two agents.
Triggers vs. schedules, and why narrow wins
Every agent needs something to tell it when to start. A schedule runs on a clock: every Monday at 9am, every day at close. A trigger runs in response to an event: a new request posted, a database property flipping to Ready, an email from a specific sender.
If a job has two patterns, that's two agents, not one with a split personality.
The part that saves you money: make your triggers high-signal. Fire on an @mention or a specific emoji reaction, not on every message in a channel. Fire on a Status changing to Ready, not on every edit to a database. And start narrower than feels necessary. Weekly before daily, one channel before five, one database before three. You can always widen the net once the output holds up, and widening is far cheaper than discovering an agent has been firing hundreds of times a day on noise.
Test it before you trust it
Always run an agent by hand before you switch the trigger on. Read what it produced. Does it match what you'd have done yourself? Most agents need a few iterations, three to five runs is normal, before they're consistent. Notion keeps an activity log showing what set each run off and what the agent did, which is where you look when something seems off.
The real worry is the bill. An agent left running without a glance can rack up credits on work nobody's even reading, so be intentional from the start about exactly what you're asking it to do. And if one turns out hit or miss, or it's barely moving the needle for the team, the instructions usually need another pass before anything else.
The levers are simple. Three things drive what an agent costs: how often it runs, how much it reads, and how many steps it takes. So run it less often than you think you need, point it at the smallest scope that does the job instead of your whole workspace, and keep the task simple enough that it finishes fast. Credits reset monthly and don't roll over, so it pays to switch off experimental agents before they sit there quietly spending.
Is it actually worth it? And when to reach for something else
Fair question, and the answer isn't always yes.
Our honest take: a custom agent is worth the cost when it earns it. If it's reliably saving the team time and keeping people from getting pulled away by small, repetitive stuff, it pays for itself. If it isn't, it's not a must-have, and there's no shame in deciding it's not for you. The only way to find out is to build one and see, so don't be afraid to test it out.
Where we'd draw the line: a custom agent is the right tool when the work is repeatable, the output is checkable, and you're happy for it to run without you. When you need behavior that's identical every time, or logic that reaches outside Notion, or tighter control over cost, that's a different job.
Maybe you’re thinking, why not just use Claude or Notion AI and do it yourself? Agents earn their place on recurring, hands-off work. For one-off thinking or drafting, a chat tool is usually faster and cheaper. We laid that whole landscape out separately: Notion AI vs Claude (and Custom Agents).
Start with one and see
Just do it. Don't overthink the first one. Pick a single repetitive task, keep the scope tight, test it by hand, and keep an eye on the credits while it settles. The teams that get the most value out of custom agents aren't the ones automating everything. They're the ones who automated one repetitive thing well, then did it again.
Figuring out which workflows are worth handing to an agent, and which to leave alone, is most of the work. If you'd rather not sort that out on your own, it's what we do with teams every week. Tell us what's eating your team's time and we'll help you build the agents that earn their keep. Talk to us.